How to Play Open Sea For Animals: The Core Loop, Step by Step
The Open Sea For Animals beginner loop, in order: split the sea, collect an egg you can reach, return to base before the waves close, place and hatch it, and earn Cash from placed Animals — plus what to check after each run.
The core loop: split the sea, grab an egg, return, place and hatch, earn Cash
Open Sea For Animals runs on one loop, and the game's listing description spells out each beat — the same order appears in recorded runs:
Roadmap
- 1
Split open the sea
Open a path to the Eggs.
- Open the water at the edge and push the split toward an egg you can reach comfortably.
- 2
Return to your base
Beat the closing waves.
- Run back to your base before the sea waves close on you.
- 3
Place and hatch the egg
Turn the recovered egg into an Animal.
- Place the recovered egg at your base and let it hatch.
- Follow its hatch progress — each egg has its own.
- 4
Earn Cash with Animals
Fund your next upgrades.
- Place hatched Animals at your base to earn Cash.
- Leave them placed — Animals also earn Cash offline.
For your first delivery, keep it short: open the sea, collect an egg you can reach comfortably, return to your base, and place it to hatch. Check the resulting animal and whether it is actually placed, then spend on the problem that limited that trip. Aim to complete one delivery before extending the route — a deeper egg is useful only after you bring it home.
How a sea run starts
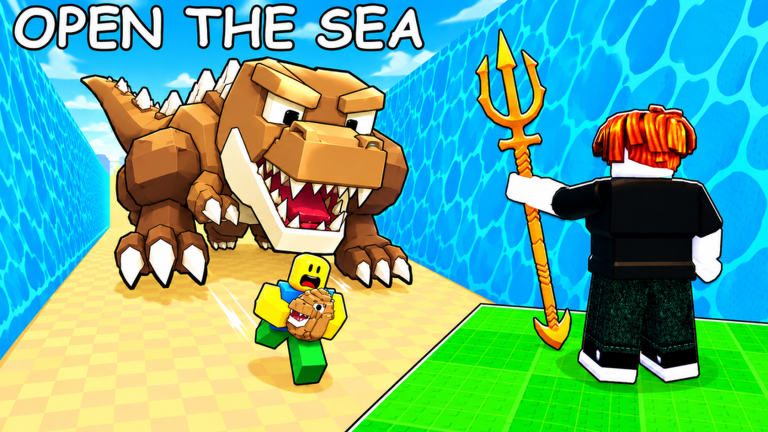
Opening the sea is a deliberate action at the water's edge: recorded runs show players walking to the spot, clicking or holding to split the water, then pushing outward to see how far the opening goes. That reach decides which eggs are collectable on a given run. It improves through two systems used together — Strength raised by training and buying better dumbbells, plus staff upgrades bought in the Staff Shop — and both are needed, because one alone won't push the sea much farther. So target an egg you can reach comfortably rather than the deepest egg visible, and only extend the route after a delivery is safely home.
The timed return: getting home before the waves close
The return leg is the risk part of the loop. The game's own listing frames it as a race — run back to your base before the sea waves close on you — and the feel matches: you're sprinting across a split seabed while the water hangs there waiting to crash back in, so you have to escape the water fast. If you reach an egg but struggle to return, the fix is Speed and your route; recorded runs show a player who got caught on a long first attempt buy a speed upgrade and immediately make the same run far better.
What actually happens if the waves fully catch you is currently inconsistent between descriptions and recorded play: the listing treats the return as a race you can lose, while in recorded runs a player who touched the water saw no visible effect. Don't plan around a specific penalty — treat the return as timed, and check what happens in your own run before committing to a risky route.
At base: place the egg, hatch it, and turn Animals into Cash
Back at the base, place the recovered egg and follow its hatch progress. Eggs have a waiting step, and each one progresses on its own — read the progress for the egg you placed rather than assuming all eggs finish together. In recorded runs, one placed egg completed in about 15 seconds; treat that as a single observation, not a fixed hatch time.
Hatched Animals are then placed at the base to earn Cash, and they keep earning while you are offline — Roblox Plus players get +15% Cash on top. Owning an Animal is not the same as using it: seeing it in your collection is a separate step from placing it at the base, and its displayed earnings only count once it is placed. Recorded runs show an Animal sitting in the inventory before placement, and an uncommon frog hatched from a frog egg earning about 4,000 per second once placed.
First progression decisions
After each run, spend on whatever step limited that trip — spending should help you complete the loop of bringing eggs home before the waves close.
Comparison
| Current problem | First check | Useful upgrade test |
|---|---|---|
| The sea stops short of the chosen egg | Opening feedback, Strength and equipped staff | Repeat the opening after training or a staff change |
| You turn back but cannot return comfortably | Turnaround point and current Speed | Repeat the same short pickup after a Speed purchase |
| Successful trips leave room for another nearby egg | Current Carry capacity and extra pickup distance | Add one pickup without lengthening the return excessively |
| Upgrades feel unaffordable despite reliable collection | Placed Animals and displayed earnings | Compare the lineup before considering base spending |
| A Rebirth option is affordable | Current confirmation and Cash multiplier | Compare its cost with the purchase you would delay |
This is the flywheel that ties the loop to progression: Animals hatched from Eggs keep making Cash while you are offline, so a better starter pet changes how fast you can buy Speed and reach farther Eggs. Recorded runs also show the follow-on levers — base upgrades that raise what Animals earn, a Carry upgrade allowing three eggs per trip, and Rebirth multiplying Cash.
Related Guides
Sea Runs
Run the parted sea for eggs and return before the waves close, with fixes for reach and carry.
Egg Collection
Collect eggs safely: split the sea, grab what you can reach, and return before waves close.
What to Upgrade Next
A first-session route to your first Rebirth, plus a rule for picking upgrades.