
Open Sea For Animals Zones: Zone Order, Gates, and How to Reach Farther Zones
Zone order in Open Sea For Animals, from the first barrier past the gorilla and secret zone to the Polar Bear final zone, plus how strength, staff, and speed control how far the sea opens.
Quick answer
The sea in Open Sea For Animals is split into zones, and each zone holds a different rarity of egg — the farther the zone, the rarer the egg. Strength plus staff push the sea open, and speed gets you back out before the closing waves end the run.
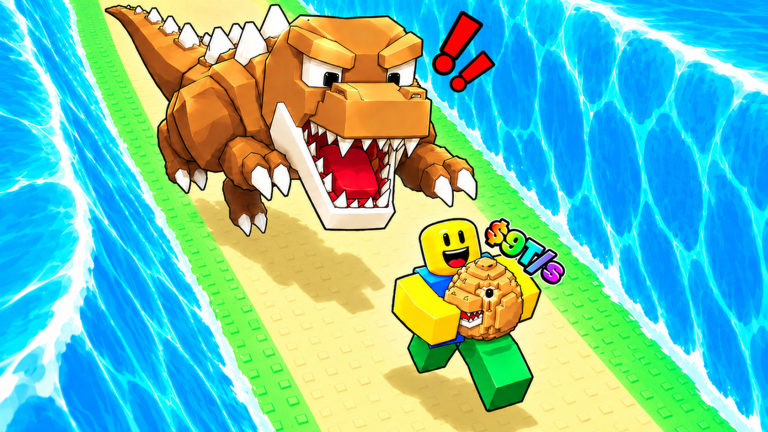
- Standing boss order: a T-Rex guards the early zones, then a gorilla, a mammoth, and a yeti — the Polar Bear waits in the final zone, which needs enormous strength, around 100 quadrillion, and holds the best eggs in the game.
- Run markers from the starting side: the first zone, a dinosaur section right after it, a fourth section, a next unlocked zone, and a secret zone beyond — labels from play, not official zone names.
- To open the sea farther: raise strength by training and buying better dumbbells, and upgrade your staff in the Staff Shop. You need both; one alone won't push the sea much farther.
- Openings line up with egg rarity tiers — a staff purchase is expected to open 'all the way to like epic,' and one runner treats a billion strength as enough to get past legendary rarity.
- The farthest zones show luck multipliers such as 12.5x and 15x; which multiplier belongs to which zone isn't established.
Zone markers from the starting barrier to the secret zone
A full progression run puts clear labels on the path inward, and its own summary is 'We made it all the way to this point here':
Tips
First zone
The starting barrier: 'We still can't break past this first zone. Okay, we need more strength.'
Dinosaur section
Sits right after the start: 'There's literally dinosaurs in the next section.'
Fourth section
Broken into during a later opening: 'We break into the fourth section.'
Next zone
Unlocked mid-run after a 200 million strength attempt failed: 'Wait, we unlocked the next zone.'
Secret zone
Beyond the reached sections: 'We're about to break through to the secret zone here' — the run ends having 'unlocked a little bit of this secret area.'
None of these labels are confirmed official names — they're the markers the run itself used. The game's zones are named by their guarding bosses.
Zone order by guarding bosses
The standing order runs: a T-Rex guards the early zones, then a gorilla, a mammoth and a yeti. The Polar Bear waits in the final zone. Play matches parts of that order — one runner opens a new zone expecting the gorilla ('Opening up a new zone. So, I think we're going to be at the the gorilla'), another heads 'into the gorilla area,' and the run that reaches the confirmed end grabs 'a polar bear egg for the road.' The T-Rex placement fits the dinosaur section seen immediately after the start. The mammoth and yeti appear only in that boss order — no run captured in play shows them being opened — so treat their placement as the standing order and recheck it in-game. In the final area, the guard fights back: 'I can't even steal from this final area cuz he just wrecks me.'
How to open the sea farther: strength plus staff
Later zones open by pushing the sea farther, and the gate is strength plus staff. A fresh run stalls at the very start — 'We still can't break past this first zone. Okay, we need more strength' — and mid gates resist too: at 200 million strength, one break-in attempt fails ('I don't think we did'). The direct method: 'Raise your strength by training and buying better dumbbells, and upgrade your staff in the Staff Shop. You need both; one alone won't push the sea much farther.'
For each zone, check the next zone's requirement before you push. If you're just short, a few minutes of training is faster than repeated failed runs. Don't overreach — going one zone too far and getting caught wastes more time than a safe run. When the opening itself blocks access, reach is the first check: train with your current equipment, check that the intended dumbbell and staff are equipped, and try the opening again. Do not infer a universal zone requirement from another account's opening — your account's numbers decide your gate.
Strength checkpoints at zone gates
These checkpoints are not confirmed per-zone requirements — each row says what it actually is:
Comparison
| Gate / zone | What happens there | How to read it |
|---|---|---|
| First zone | The starting barrier holds — 'We still can't break past this first zone. Okay, we need more strength.' | A strength gate with no stated number. |
| A mid 'next zone' | 200 million strength fails one break-in attempt — 'I don't think we did.' | One failed attempt, not a stated threshold. |
| Gorilla zone | A new zone opens right after a run hits a billion strength and buys the Galaxy Wand — 'Opening up a new zone. So, I think we're going to be at the gorilla.' | Timing in a single run, not a confirmed requirement. |
| Final zone (Polar Bear) | A 50 QA attempt is left unresolved ('I'm not satisfied, though'); a 100 QA run with the best staff reaches the end — 'this is as far as you can go. Confirmed. No further' — and takes 'a polar bear egg for the road.' | Confirmed end point at 100 QA; the 50 QA attempt settles nothing. |
| Final zone (Polar Bear) | It needs enormous strength — around 100 quadrillion — and holds the best eggs in the game. | Approximate figure, not exact or official; it lines up with the confirmed 100 QA end. |
The secret zone is verified only as a marker one run broke into — its contents, requirement, and position relative to the Polar Bear zone aren't documented. Zone names, order, and thresholds can shift with updates, so recheck them in-game.
Speed and the closing waves: the second gate
Opening a zone and using it are two different gates. Once the sea splits, the walls of water start closing behind you — if they catch you, the run is over and you lose what you're carrying. Speed is the most important upgrade for surviving: the farther you open the sea, the faster you need to be to get back. The final area shows this as a hard requirement even in a heavily upgraded run — the player can see the end ('we can go so far. We can go all the way to the end') yet still fails the pickup: 'NO, I can't steal from the final area yet. I'm too slow, man.' The fix is stated plainly: 'We just need more speed so we can steal from that final area.' Strength alone doesn't unlock far-zone loot; speed gates the round trip.
Side-zone resets for far-zone loot runs
One technique keeps far-zone runs alive: run straight to the far end first, grab the best eggs there, then duck into the side zone, which resets the area — you skip the chase back past everything you already passed. A run shows it working: 'we got to go into this zone to the left because I believe it resets... Yep, it resets the area.' Another run shows a variant — grab an egg inside a side area while the sea is closing and 'the sea just opens up' fully again instead, a move that player calls 'a nice little cheat code to get all of the rarest eggs inside of this game.'