
Open Sea For Animals Progression Guide: What to Upgrade Next
A first-session route from your first animal to Rebirth, a rule for choosing the next upgrade, and the documented zone checkpoints.
Quick answer
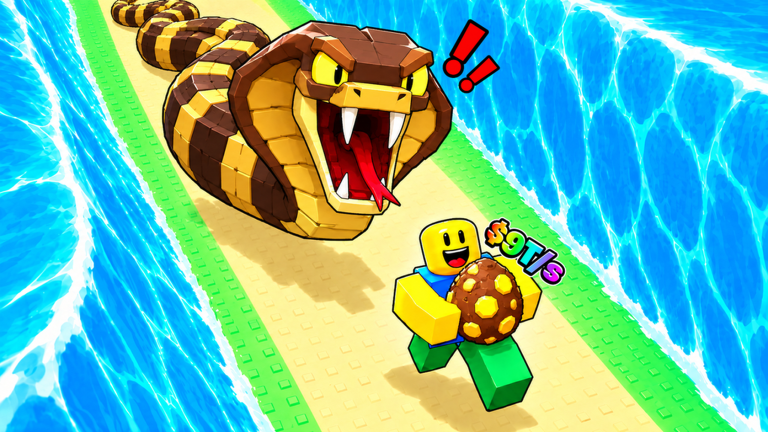
Open Sea For Animals progression runs on one loop: split open the sea for Eggs, run them back to your base before the waves close, place them to hatch, and let the Animals they produce earn Cash — even while you're offline — to pay for Strength, staff, Speed, Carry, base and Rebirth upgrades.
- First-session order: check for a usable code reward, train Strength with your starter dumbbell, buy Speed, then make short egg runs and reinvest the Cash.
- Choose the next upgrade by matching it to the step that failed on your last trip: training and staff for reach, Speed for the return, Carry for extra pickups, animal production when Cash is the constraint.
- Only two zone checkpoints are documented so far: the first zone, which blocks you until Strength improves, and the far Polar Bear zone, reported at around 100 quadrillion strength. Thresholds for the zones in between haven't been published — recheck after updates.
- Treat Rebirth as a comparison against the next upgrade it would delay, and read the live in-game confirmation for its Cash cost, consumption and multiplier before resetting.
- Animals also earn Cash offline, Roblox Plus players get +15% Cash, and the game updates every Saturday, so costs and thresholds can shift.
A first session in order
The loop becomes a route once you put it in a specific order. Work through these stages in one sitting:
Roadmap
- 1
Check for a free starter
See whether a current code can add an earner.
- Check the Codes page and try a listed code in the Shop
- Place any claimed animal in your base
- 2
Train your reach
Strength decides how far the sea opens.
- Train with your starter dumbbell until you can afford the next one
- 3
Buy Speed before the first long run
Make the return trip survivable.
- Upgrade Speed in the Upgrades menu
- 4
Run your first egg
Convert training into an animal.
- Split the sea with your staff and grab the best egg you can reach
- 5
Return and hatch it
An egg only counts once it is home.
- Run back before the waves close
- Place the egg in your base to hatch
- 6
Reinvest and repeat
Fix whatever limited that trip.
- Spend Cash on a better dumbbell, a better staff and more Speed
- Go again
- 7
Take your first Rebirth
Compare before you reset.
- Read the Rebirth confirmation's Cash requirement and multiplier
- Rebirth when it beats the next upgrade you would delay
One flag on the final stage: "Rebirth as soon as you can afford it" is that checklist's own recommendation, and it sits in tension with the comparison-first approach — compare the Rebirth confirmation's Cash requirement and displayed benefit against the next upgrade you would delay before spending on either.
Which upgrade to buy next
Don't follow a fixed shopping list — read your last trip. Each failure points at a specific purchase:
Comparison
| Your current problem | First check | Useful upgrade test |
|---|---|---|
| The sea stops short of the chosen egg | Opening feedback, Strength and equipped staff | Repeat the opening after training or a staff change |
| You turn back but cannot return comfortably | Turnaround point and current Speed | Repeat the same short pickup after a Speed purchase |
| Successful trips leave room for another nearby egg | Current Carry capacity and extra pickup distance | Add one pickup without lengthening the return excessively |
| Upgrades feel unaffordable despite reliable collection | Placed animals and displayed earnings | Compare the lineup before considering base spending |
| A Rebirth option is affordable | Current confirmation and Cash multiplier | Compare its cost with the purchase you would delay |
Compressed to a rule: match the purchase to the failed step — training and staff for reach, Speed and a shorter path for the return, Carry for useful extra pickups, or animal production when Cash is the constraint. Base upgrades and Rebirth sit on top of this as additional spending paths: evaluate a base upgrade against your current earnings and the next collection purchase, and for Rebirth read the live confirmation carefully, since Cash consumption and a Cash multiplier are described in gameplay but a complete reset checklist should come from the current in-game panel.
The reach track: Strength, dumbbells and staff
To open the sea farther, raise your strength by training and buying better dumbbells, and upgrade your staff in the Staff Shop — you need both, since one alone will not push the sea much farther. Plan training sessions rather than leaving them running: the game removes you from training after a while, so the Strength track cannot simply be left AFK.
Recorded play shows what low reach costs. After picking up a gold basic egg, a run stalls at the first barrier — "We still can't break past this first zone. Okay, we need more strength" — and the fix is a chain of purchases: a Strawberry dumbbell, then higher tiers such as the pancake dumbbell with its stated 60k power, plus staff and strength-multiplier buys, until the opening finally reaches the next section's eggs.
Zone milestones: the first gate, the secret zone and the Polar Bear end
Zones are strength-gated stretch points along the sea and mark the main mid-to-late milestones. An early run documents the first zone blocking progress until more strength is trained or bought. With enough speed and strength, upgraded runs push much deeper: one reports "We're about to break through to the secret zone here," with ostriches and other high-tier eggs visible past it.
The documented end of the sea is the Polar Bear zone at the far end, which needs enormous strength — reported at around 100 quadrillion — and holds the best eggs in the game. A video run matches that figure, ending after buying the most powerful staff with: "we have 100 QA strength. We've officially beaten the game. And this is as far as you can go. Confirmed. No further."
The strength thresholds for the zones between the first gate and this final area haven't been documented yet, so treat any in-between ordering as unconfirmed and recheck it after major updates.
Speed and Carry: turning Cash into farther, fuller runs
Cash converts into run capability at the upgrade stand, which covers both movement and capacity: "Upgrades. We can get more speed, more carrying amount." The economy chain is stated explicitly in the game's own coverage: animals pump out Cash while you play and keep earning after you close the game, and more Cash means more speed, and more speed means you reach the Eggs sitting further out. A placed earner like the Bat works the same way — Cash ticks even when you step away, and that extra Cash pays for the speed that decides whether you grab one Egg or three before the sea slams shut.
Carry is the capacity milestone on the same track: one run upgrades "to now carry three at once," then grabs a tiger egg and two T-Rex eggs on a single trip. Costs escalate deep into a run — one recorded player is surprised that a single speed upgrade costs 44 billion, a figure from a run boosted by Robux purchases, game passes and paid secret pets, so treat specific deep-run prices as examples rather than typical free-to-play targets. The timing rules from the priorities table apply: work on Speed when you reach the egg but struggle to return, and buy Carry when extra pickups fit comfortably into a successful trip.
Base upgrades and the endgame checkpoint
Base upgrades are the spending path that turns accumulated Cash into animal income: "And then we can also upgrade our base. That upgrades our animals. Now they make us a ton more money." Timing follows the priorities rule: when upgrades feel unaffordable despite reliable collection, check your placed animals and displayed earnings, compare the lineup, and weigh a base upgrade against both your current earnings and the next collection purchase.
A heavily upgraded recorded run describes where this track ends: "we have max rebirth. We have the max staff in the game. We have max upgrades basically pretty much. we have the best weight that you can lift, the plane. So basically, we've unlocked everything because we've upgraded our base all the way."
Rebirth checkpoints: what to read before you reset
Rebirth multiplies Cash but consumes it, so treat it as a comparison decision rather than a reflex. Before resetting, read the current confirmation panel and resolve five things:
- Cash requirement — whether your account meets the option shown.
- Cash consumption — what amount or balance the action will consume.
- Displayed benefit — what multiplier or effect the game describes.
- Retention or reset wording — what the panel explicitly says happens to your existing progress.
- Next available option — whether a later Rebirth has different requirements.
There is no universal rule that every affordable Rebirth must come first: the live cost, the displayed benefit and your current collection bottleneck decide it. If you are one purchase away from a Speed upgrade that would make a reachable egg deliverable, weigh the Cash consumption against that immediate route improvement.
Recorded play shows the multiplier ladder growing with repeat rebirths — doubles up to x256 cash, then x512 — and rebirths eventually reaching a max, while one early run could only afford three rebirths at its stage. Counts and multipliers vary with your state, so plan around your own panel rather than a fixed schedule.
Free code rewards in the progression loop
Before grinding, check the current Codes page for any usable reward. A free animal could help Cash income once placed, but it does not tell you which Speed, Carry, or training purchase fixes your next trip. Keep a reliable egg route running whether or not a code works.